Understanding the use to Azure CLI: Creating a Resource Group and Virtual Machine
It is very important to know how to use the CLI to perform most of your tasks based on the benefits below:
Speed: CLI enables you to execute commands quickly. ...
Resources: CLI requires fewer computing resources to execute commands than a graphical interface.
Repetitive Tasks: CLI is effective in automating repetitive tasks and can create a batch file to automate tasks at any given time.
We need to meet the following requirements to be able to use PowerShell to create RG and VM using Azure CLI
Install Azure CLI on your PowerShell using this link: https://learn.microsoft.com/en-us/cli/azure/install-azure-cli
Ensure you have an account with the Azure portal.
Run your Powershell as Administrator.
Step 1: Logging into the Azure portal
Launch the Powershell in Administrator mode and Type "az login"
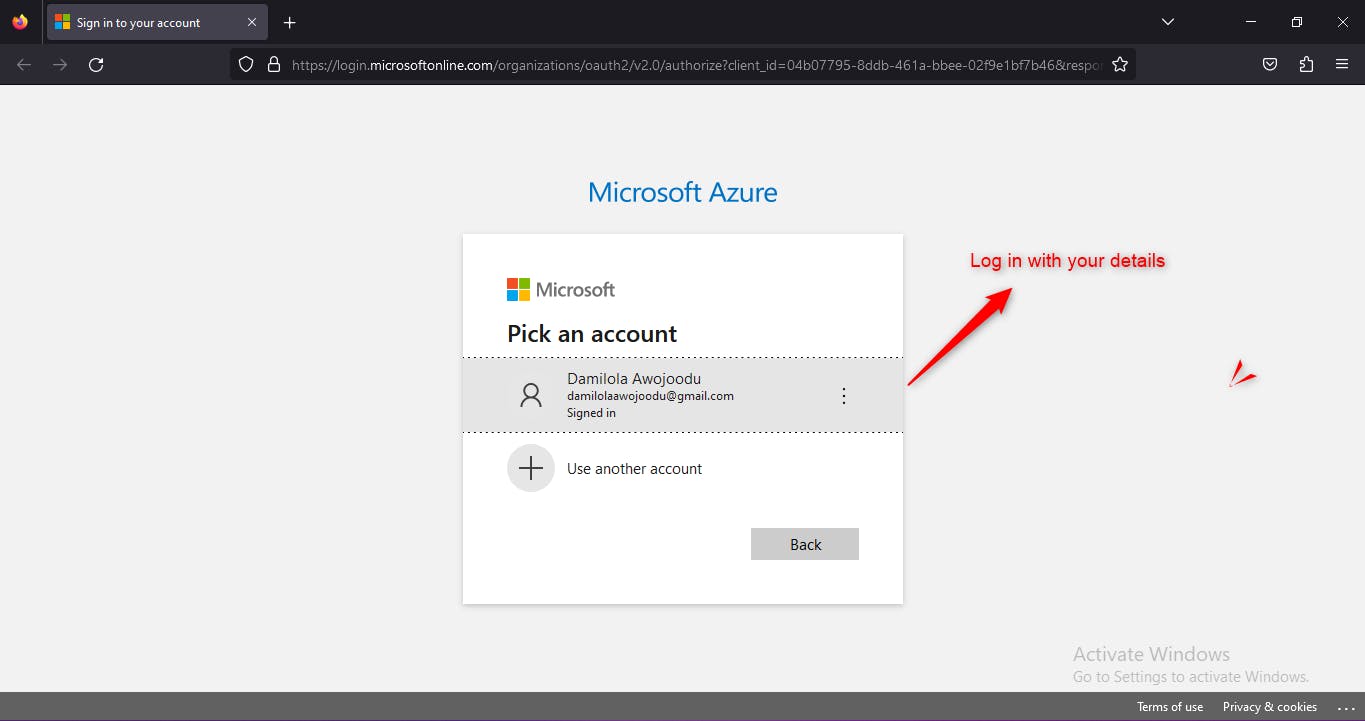
It would open a webpage for you to confirm your logging-in details
Sign in and you will get a confirmation page
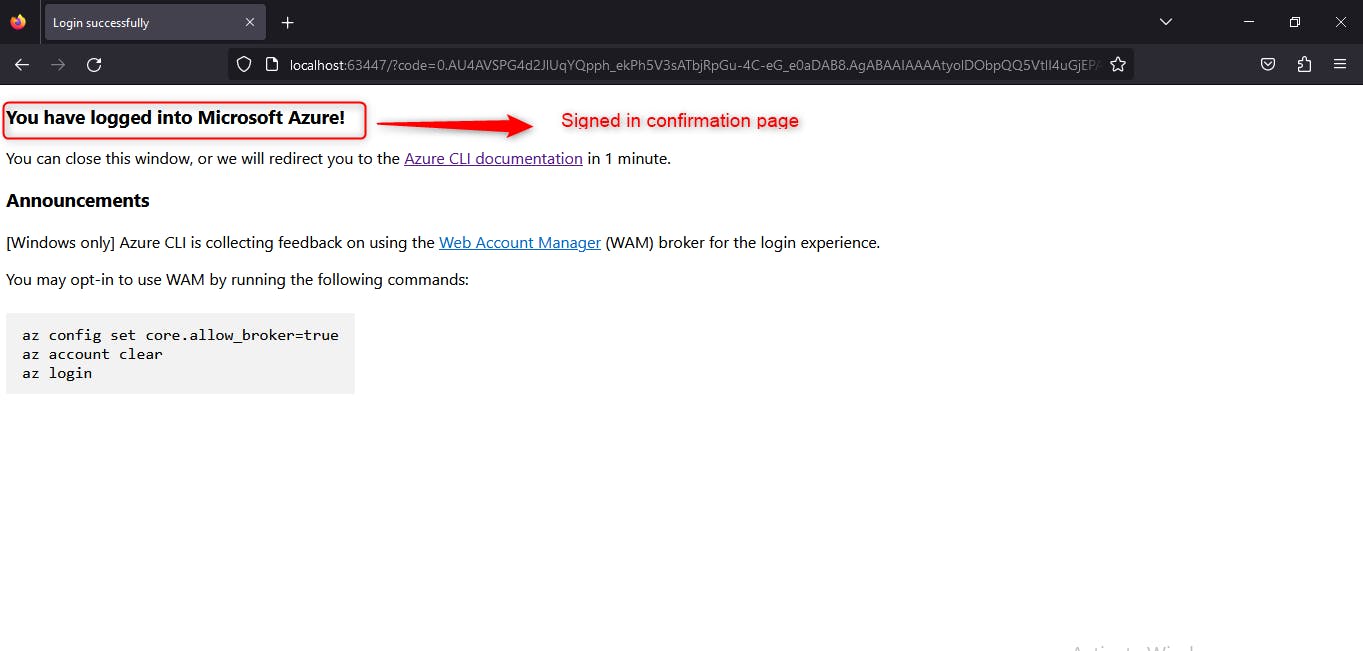
- The highlighted box shows you are logged into Azure.
Step 2: Creating a Resource Group
Type "az group create --name Damtest3 --location eastus"
The Resource Group has been created as shown in the highlighted box below
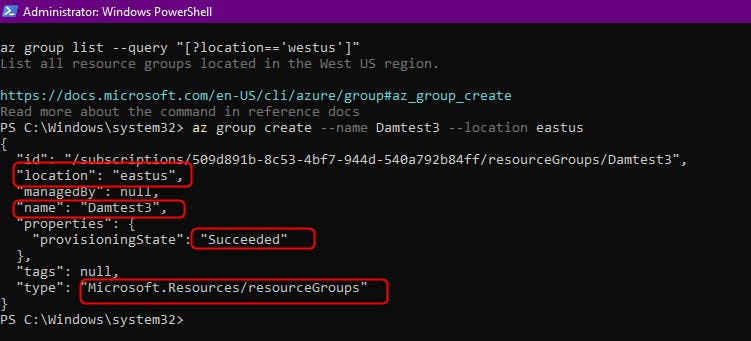
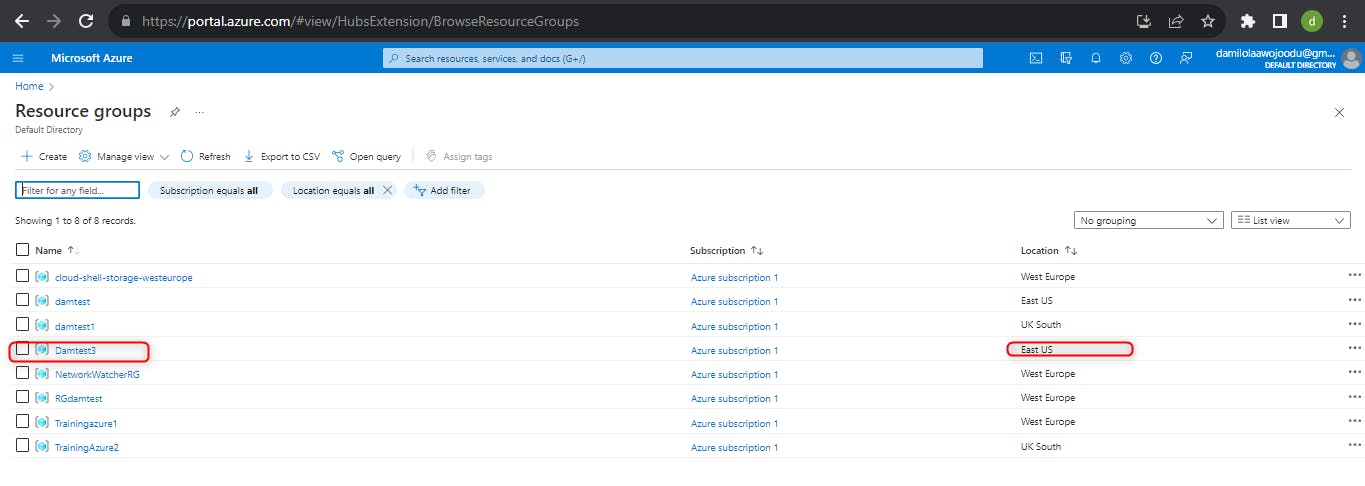
To confirm, go to the resource group in Azure portal and you will see "Damtest3" Resource Group
Step 3: Create a Virtual Machine in the Resource Group
Type "az vm create --resource-group Damtest3 --name Damtest --image UbuntuLTS --admin-username azureuser --admin-password Password1234#"

Note that: The virtual machine is running and it also created a static
IP.
To confirm creating the Virtual Machine, go to the portal and check under VM.

Step 4: Run other commands on the through CLI/PS tab
Go to the CLI/PS tab on the virtual Machine to try some commands

To display Virtual Machine:
Type "az vm show --resource-group Damtest3 --name Damtest --subscription 509d891b-8c53-4bf7-944d-540a792b84ff --output table"

To stop Virtual Machine:
Type "az vm stop --resource-group Damtest3 --name Damtest --subscription 509d891b-8c53-4bf7-944d-540a792b84ff"
Note: It will continue to be billed except you deallocate the VM

To delete the Virtual Machine:
Type "az vm delete -g Damtest3 -n Damtest --yes"

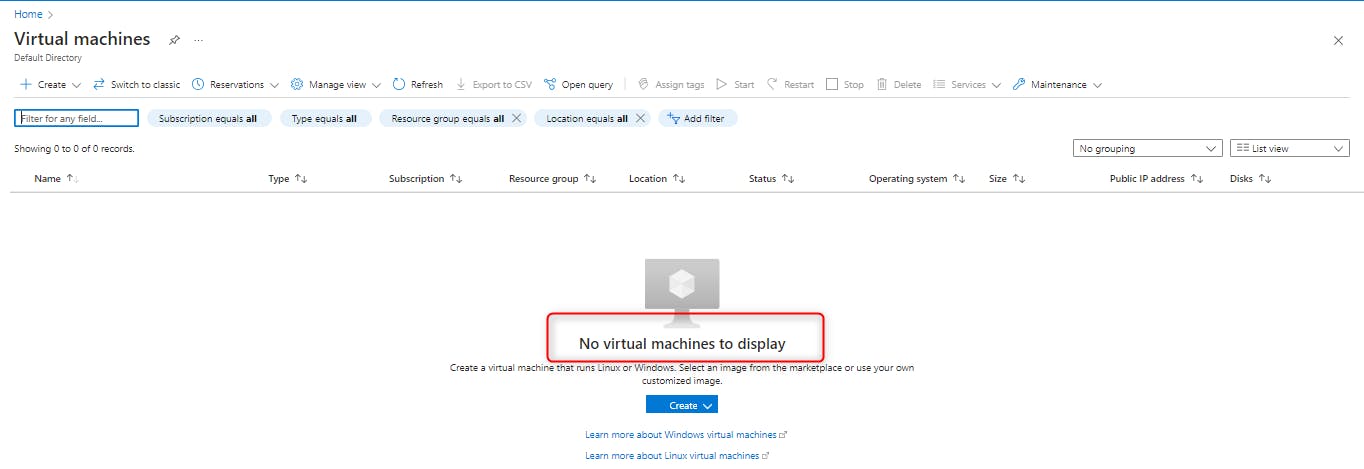
Evidence on the Azure portal the Virtual Machine is deleted:
In Summary:
The use of CLI while performing a task in Azure is very Key. It makes the work faster and requires fewer computing resources.
